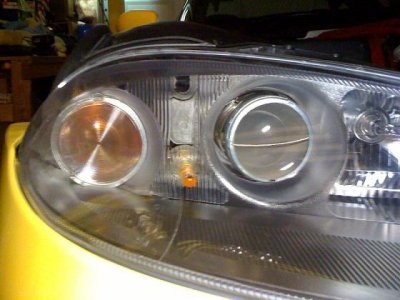
And after 30 minutes of elbow grease with plastic polish the lens looks better already. It still has a yellow tinge, though. Most of the issue was on the outside.
So - for the real experts:
What is best way to make the lens like glass again?
forget about that plastic polish for now. that is the Last step.
You need to start with a clean slate by removing a decent amount of plastic. This cannot be done with an abrasive liquid, it must be done with an abrasive paper.
As with polishing any type of material, each increasing grit of sandpaper removes the scratches created by the previous step. You will want to start with atleaset 320 then work your way on up (i started with 220 to make certain that i would get past All the deeper scratches, and wanted to completely sand off the raised lettering)
This is what i would reccommend:
(using a combination of sandpaper and the 3M Kit)
3M Headlight Lens Restoration System - Auto Geek Online Auto Detailing Forum
1. 320grit by hand
2. 400grit by hand
3. 500grit 3Mrotory
4. 600grit by hand
5. 800grit 3Mrotory
6. 1000grit by hand(wet)
7. 3M Trizackt Disc
8. 3M Liquid Polish
9. SyntheticWax/Polish(like Nufinnish)
That is for lens in bad condition. Mine had 50K miles on em(for reference)
If your lens already look pretty good and you just want to polish em up some then starting at step 3 or 4 would be fine.
Spend alot of time on the first step to make sure youve got a good base and take your time on every other step as well if you want a glass like finish.


")